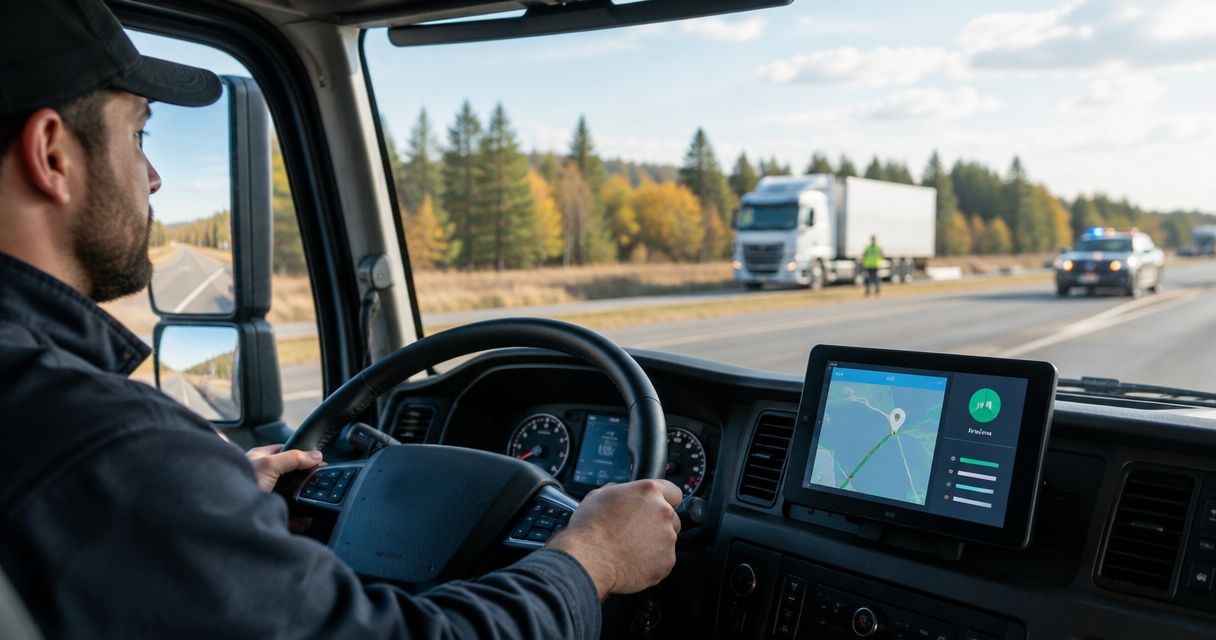
Truck stopped? Turn an ELD alert into a dispatcher-reviewed roadside request: confirm the driver’s safety, verify the location, identify the service, and call for help. Instead of copying every alert into a new message, use one incident record to carry the details from notification through service confirmation.
- For eld alerts roadside dispatch, require driver confirmation before requesting service.
- Atlroadside provides Atlanta fleets with 24/7 roadside assistance and heavy-duty towing.
- An ELD malfunction is not proof of an engine breakdown or a need for towing.
- Keep one incident record, one responsible dispatcher, and a confirmed service handoff.
Stranded now? Use the contact page to reach Atlroadside. Report your location, vehicle type, immediate hazard, and whether you need diesel delivery, a jump start, lockout help, tire service, or towing. Do not wait for an integration setup during an active breakdown.
Why this matters
An electronic logging device records driving-time information for hours-of-service records. An ELD malfunction notification does not, by itself, diagnose a mechanical failure. Some fleet platforms also carry location and vehicle-health information, but those are separate capabilities you must verify.
Your 2026 dispatch workflow needs to separate a logging problem from a stranded truck. Otherwise, an alert becomes a service request before anyone knows what happened.
Atlroadside is best for Atlanta fleets needing 24/7 roadside assistance and heavy-duty towing, not ELD software. Keep alert handling inside your fleet process; confirm the actual roadside request directly with the service provider.
Before you start
- Access: Have permission to view fleet alerts and use whatever notification, export, or integration features your platform actually supports. Identify the dispatcher responsible for reviewing them.
- Materials: Keep current driver callback details, vehicle identifiers, fuel type, fleet authorization instructions, and an approved place to record incidents. Make that record accessible to the next shift.
- The gotcha: Verify what the alert means before connecting it to dispatch. A lost device connection, stale location, or logging malfunction is not a confirmed breakdown. Never treat a delivered notification as an accepted roadside job.
For this 2026 setup, start with 1 incident owner and 2 contact roles: the driver and the responsible dispatcher. These are workflow choices, not staffing requirements or service promises.
The field names below are suggested labels for your own incident record. They are not claimed menu names or buttons in an unidentified ELD platform. Use your platform’s documented controls rather than searching for settings that might not exist.
Alert intake
Configure the trigger and incident record
- Identify the source. Determine whether the notification comes from ELD compliance monitoring, vehicle diagnostics, GPS tracking, or a driver-submitted help request. Preserve that distinction in the record.
- Choose a supported intake method. Use an existing notification channel or documented integration feature. If your platform has no supported automated route, have the dispatcher create the record manually.
- Map the incident details. Suggested fields are Incident ID, Vehicle ID, Driver callback, Alert type, Alert time, Reported location, and Location time. Leave unknown details blank instead of filling them with guesses.
- Assign ownership. Send the incident to a named dispatcher or staffed queue. Record who takes responsibility so a shift change does not leave the driver waiting.
- Prevent duplicate jobs. Check for an open incident involving the same vehicle and event before creating another. Attach repeated notifications to the existing incident unless a dispatcher confirms a separate problem.
Expected result: A relevant alert creates or updates a reviewable incident. It does not automatically order a tow or send an unverified location to a roadside provider.
For your 2026 launch, run 3 test cases: a new alert, a repeated alert, and an alert with missing location data. Use a clearly identified test record; do not place a live roadside request just to test notification delivery.
Driver and location verification
Confirm the scene before choosing service
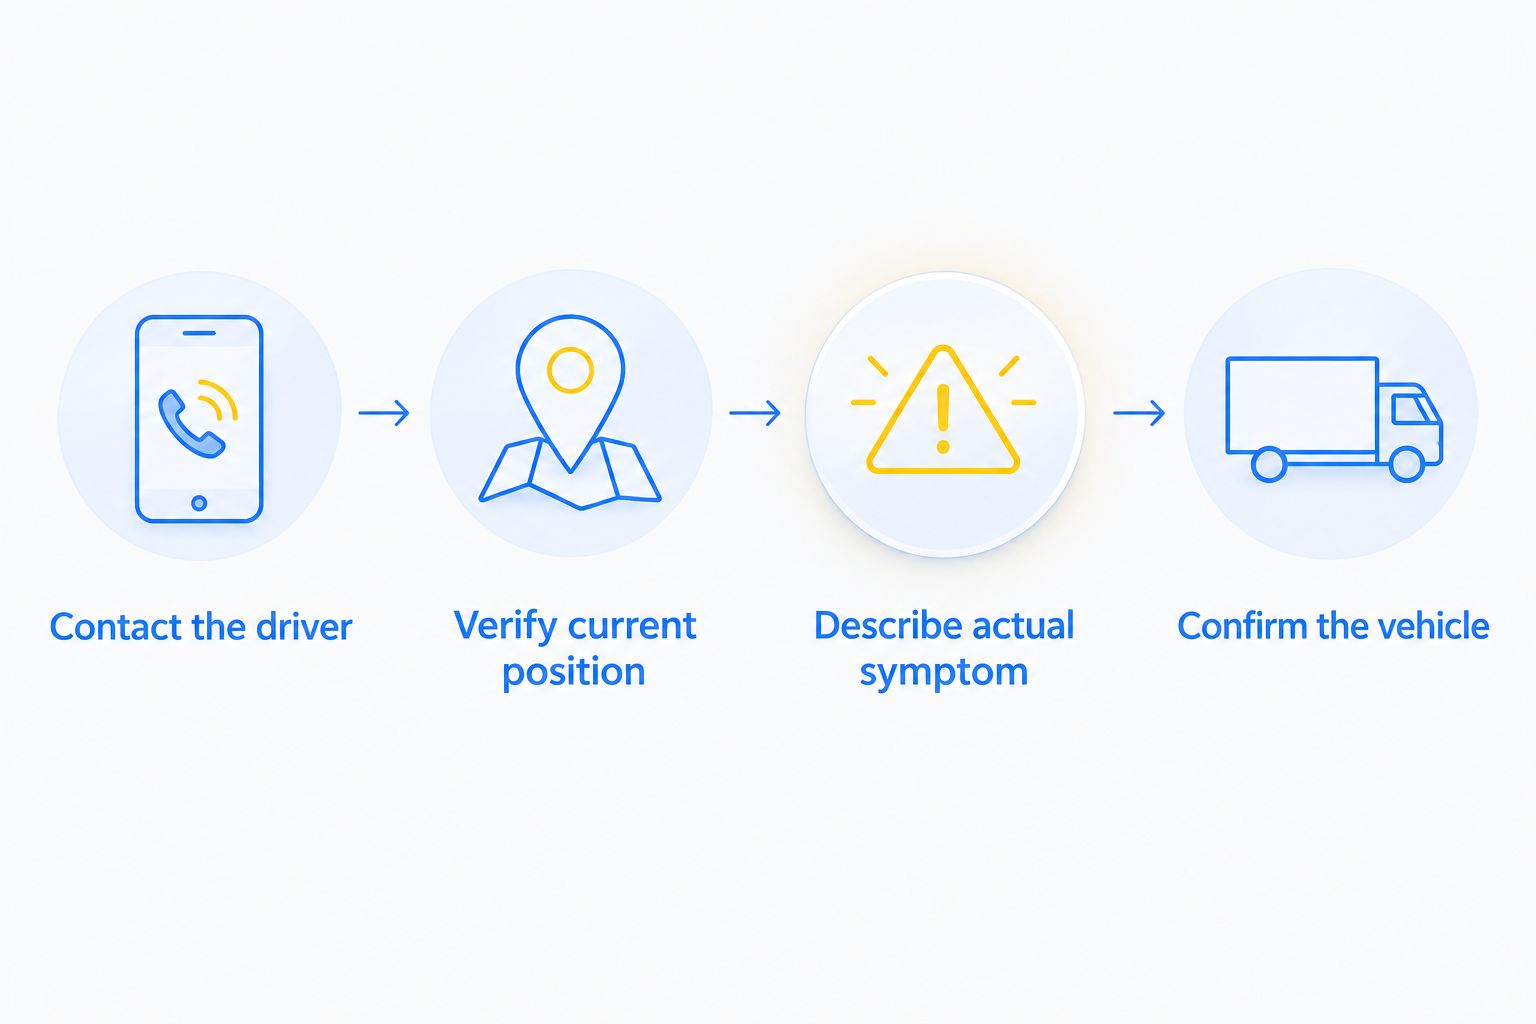
- Contact the driver. Ask whether the vehicle is stopped, whether anyone is hurt, and whether there is fire, smoke, a spill, or immediate traffic danger. Call 911 for an immediate emergency; a roadside request is not a substitute for emergency response.
- Verify the current position. Confirm the road, direction of travel, nearest exit or mile marker, and whether the vehicle is on a shoulder, ramp, lot, or travel lane. Read the details back.
- Check the timestamp. Compare the location’s recorded time with the driver’s current report. Do not assume the latest location visible on a dashboard is live.
- Describe the actual symptom. Record what the driver observes: no start, empty fuel tank, flat tire, locked keys, loss of movement, or another problem. Keep observations separate from a diagnosis.
- Confirm the vehicle. Identify whether it is a passenger car, van, box truck, semi-truck, or another commercial vehicle. For a rig, report trailer involvement, loaded condition, and access restrictions when known.
Expected result: The dispatcher has a driver-confirmed location and a plain-language problem description. Missing information stays visibly unresolved.
Keep the driver focused on safety. Do not ask someone to cross traffic, inspect underneath a truck, or photograph damage from an exposed position just to complete a form.
Service selection and handoff
Build a request the provider can act on
- Select the requested service. For an empty tank, confirm gasoline or diesel before requesting fuel delivery. For a no-start, report the symptoms rather than declaring that a jump start will fix it. Describe tire damage and spare details if known. State explicitly when keys are locked inside.
- Flag towing or recovery needs. Report a disabled semi, damaged vehicle, stuck vehicle, trailer involvement, or difficult access. Let the provider assess the required response rather than choosing equipment from an alert code.
- Confirm authorization. Identify who can approve the work and any fleet instructions the dispatcher must follow. Do not assume an ELD notification authorizes service.
- Contact the provider. Give the verified location, driver callback, vehicle description, symptoms, requested service, and access concerns. Ask the provider to confirm the request and explain the next step.
- Record the handoff. Log who accepted the request, what information was confirmed, and what the driver should do next. Keep arrival updates separate from guarantees.
Expected result: A human-confirmed service request reaches the provider with enough context to assess the job. Your incident shows acceptance, not just an outgoing message.
Atlroadside provides fuel delivery, jump starts, lockout service, tire changes, mobile towing, and heavy-duty towing/recovery across the Atlanta metro. That service range supports both stranded drivers and commercial fleets; it does not establish a direct ELD connection.
Request Atlanta roadside help
Confirm your location, vehicle type, and service need before requesting roadside assistance.
Incident status and closure
Track the job without losing the driver
- Use clear status labels. Suggested labels are Needs verification, Ready to request, Provider confirmed, and Closed. These belong to your incident process, not an assumed provider dashboard.
- Record changes in the same incident. Add revised locations, symptoms, service instructions, and provider updates without creating a separate job for each message.
- Confirm completion. Ask whether the requested service occurred and whether the vehicle needs further help. A cleared alert alone is not evidence that roadside service finished.
- Close with an outcome. Record service completed, towing arranged, request canceled, or another confirmed outcome. Keep the original alert and verification notes attached.
Expected result: The next dispatcher can see what happened, what remains open, and who owns the next action.
For your 2026 operating notes, write down how after-hours alerts reach a staffed person. An unread queue is not a dispatch plan. Assign a backup when the incident owner is unavailable.
When the same incident is updated
A second workflow handles changed information after the first alert. Use it when the driver moves to a safer location, a no-start becomes a towing request, or the provider needs revised access instructions.
- Match the update to the existing incident and vehicle.
- Keep both the original and revised details, with their timestamps.
- Have the dispatcher verify any change affecting location, safety, or service type.
- Relay the confirmed change to the provider and obtain acknowledgment.
Do not silently overwrite a dispatched location. The driver, dispatcher, and provider need the same current destination.
Choose the workflow that matches your actual system access:
| Workflow | Best for | Advantage | Limitation |
|---|---|---|---|
| Manual intake and phone confirmation | Fleets without a supported alert connection | Works without building an integration | Requires a dispatcher to enter and check details |
| Alert-created incident with human approval | Fleets with documented notification or integration support | Carries available event details into the incident | Still requires safety checks, current location, and provider acceptance |
Neither approach makes an alert a mechanical diagnosis. Both need a responsible person before roadside service is requested.
Troubleshooting
Repeated alerts create repeated requests
Check whether the vehicle already has an open incident. Group notifications under that incident and require dispatcher approval before another provider request. Different timestamps do not automatically mean different breakdowns.
The map pin points behind the truck
Check the location timestamp and call the driver. Replace the dispatch destination only after confirming the current road, direction, and position. If the provider already has the old location, communicate the correction directly.
An ELD malfunction is routed as a tow
Remove the automatic service assignment. Route the notification for driver verification and handle the logging issue under your fleet’s compliance process. Request towing only when the reported vehicle condition supports it.
A sent message is marked as accepted
Separate message delivery from provider confirmation. Keep the request unresolved until the provider acknowledges the job. If the communication channel fails, use the provider’s published contact method rather than repeatedly sending the same request.
The driver cannot be reached
Mark safety and service needs as unverified. Escalate to the responsible fleet contact under your emergency procedure; do not guess the driver’s condition from a stationary map marker. Relay any known immediate danger to emergency services.
Customize your workflow
Build a reusable 2026 request template around the details dispatch actually needs:
- Fuel delivery: Confirm fuel type, current location, and vehicle identification.
- Jump starts and lockouts: Record the symptoms or access problem and a reachable driver contact.
- Tire changes: Record vehicle type, affected tire position, visible damage, and spare information when safely known.
- Towing and recovery: Identify the vehicle, trailer involvement, loaded condition, access, and reported damage.
These are intake categories, not automatic repair decisions. Keep a dispatcher between the alert and the service order.
If location handling is your main gap, use the fleet GPS tracking to roadside dispatch guide to plan that part of the handoff. Keep the same incident owner across both workflows.
FAQ
Can ELD alerts automatically dispatch roadside assistance?
An alert can start an internal review when your platform supports the necessary notification or integration. Require driver verification and provider acceptance before treating it as a roadside job.
Does an ELD malfunction mean my truck needs towing?
No. An ELD malfunction identifies a logging-device issue, not a confirmed mechanical breakdown. Verify the vehicle’s condition with the driver before requesting service.
What information should I send with a roadside dispatch request?
Send a verified current location, driver callback, vehicle description, observed symptoms, and requested service. Include fuel type, trailer involvement, or access concerns when relevant and known.
Can Atlroadside help a stranded semi-truck at night?
Yes. Atlroadside provides 24/7 roadside assistance and heavy-duty towing/recovery across the Atlanta metro. Confirm the truck’s location, condition, and service need when requesting help.
Do I need an API to connect alerts to my dispatcher?
No. A dispatcher can review an existing notification and create an incident manually. Automated intake requires a method your platform actually supports; it does not require inventing a direct connection to the roadside provider.
Should I close the roadside incident when the ELD alert clears?
No. Close the incident after confirming the service outcome or a documented cancellation. A cleared alert does not confirm that the driver received help.
One last thing
Make provider acceptance a separate field from notification delivery. That small distinction exposes the gap between an alert leaving your system and someone actually taking the job. Keep the incident open until that handoff is confirmed.